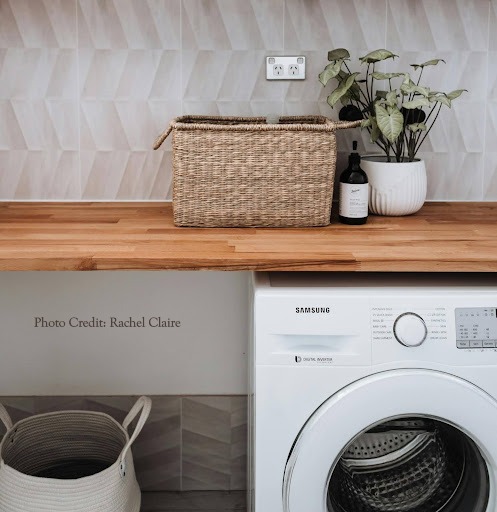
If laundry never seems to end, this practical guide is for you. Learn how to build a laundry sorting cabinet system that presorts clothes, hides the mess, and saves you time — with easy steps anyone can follow.
Laundry can be one of those chores that seems neverending — especially in busy households with kids. If you’re tired of feeling like you’re in an endless spin cycle, this practical guide is for you. Learn how to build a laundry sorting cabinet system that presorts clothes, hides the mess, and saves you time — with easy steps anyone can follow.
What You’ll Need:
– 12 cup-hooks
– Drill & small bit for pilot holes for the hooks
– 3 laundry bags
– Cabinet – preferably with doors
Step 1: Choose the Right Location
Start by identifying where most of your laundry is generated. For many families, that’s near bedrooms, bathrooms, or a central hallway. The goal is convenience — you want the system close to where clothes are taken off.
If your laundry room is nearby – bonus! The closer your cabinet is to the source of the laundry, the easier it will be for everyone to actually use it.
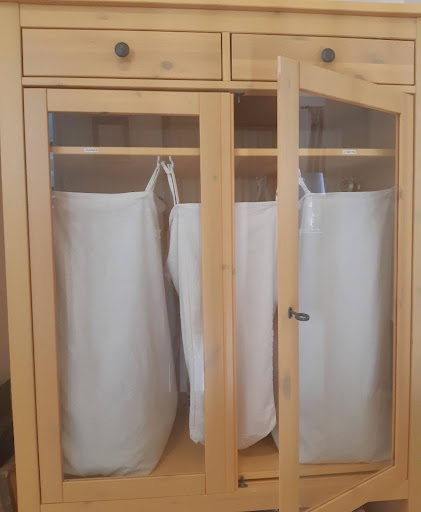
Step 2: Select a Cabinet
A simple cabinet with doors works beautifully for this setup.
The one shown in our example is from IKEA, but any cabinet that fits your space and style will do. Check out thrift stores or repurpose something you already have.
Why a cabinet?
– It keeps the laundry out of sight (and smell).
– Doors help your space look tidy, even when laundry is waiting.
– It offers a spot to store supplies, hand-washables, or delicates.
If you’re not exactly handy, a purchased laundry sorter would also work well – some also have features like a top shelf or pull-out drawers to make sorting almost effortless! Here are some we like:
Amazon Laundry Sorter
Quad Laundry Sorter
Staples Bamboo Frame
Small Spaces Laundry Sorter
Step 3: Shelf for Storage
If your cabinet has a shelf (like this IKEA one did), this is perfect for:
– Delicates or hand-wash items.
– A small bin or basket for stain removers or laundry essentials.
Tip: Keep this shelf high enough to allow room for hanging the bags underneath. If you don’t have a shelf, the bags can be hung from underneath the top of the cabinet – a fabric storage bin or basket can be attached to the side or placed on top of the cabinet – a lid will keep things out of sight and looking tidy.
Step 4: Install Hooks for Sorting Bags
Underneath the shelf or the underside of the top of the cabinet, add 4 hooks for each bag – 12 in total.
These will hold your laundry bags — one each for darks, lights, and whites.
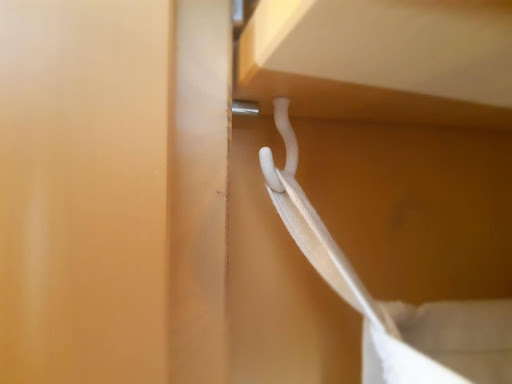
Cotton laundry bags work well because they’re breathable, easy to remove on wash day, and can be laundered easily. Choose ones with loops or handles that can hang easily from the hooks.
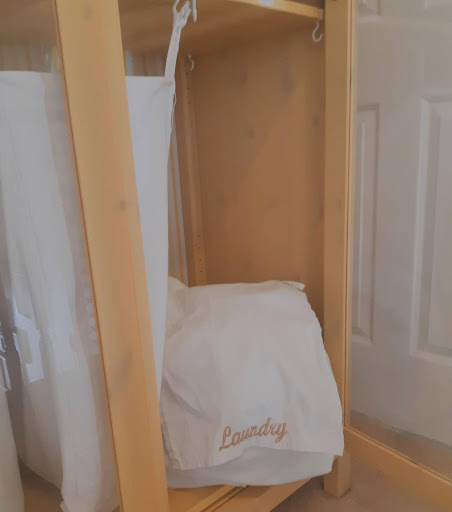
Step 5: Label Each Section
Label the area above each bag clearly so everyone in the household knows what goes where.
You can print simple labels or use chalkboard tags for flexibility.
Labels make it easier for kids (and adults!) to sort laundry correctly — which means fewer sorting marathons later.
Step 6: Maintain and Simplify
When one bag is full, it’s time to wash!
The beauty of this system is that the laundry is already pre-sorted — you simply grab the full bag and load it into the washer.
To keep things fresh:
– Wash the bags occasionally.
– Leave the cabinet doors open for ventilation if needed.
– Add a small sachet or deodorizer inside to prevent odours.
Why This System Works
This small change can make a big impact. By pre-sorting laundry, you’ll:
– Save time on every load
– Reduce visual clutter
– Create a smoother household routine
– Encourage the whole family to take part
And because it’s all neatly tucked behind cabinet doors, your laundry area stays calm and orderly — even when life isn’t.
Ready to Create Your Own Laundry Central?
If you’re ready to simplify your laundry routine, this is one of the easiest projects to start with. You don’t need fancy equipment — just a few simple tools and a plan that works for you.
As Amazon Affiliates, we may earn a commission on some items.